Project Setup#
As soon as you fulfill the Install Prerequisites, you can set up your first project as follows. This guide is for Windows.
Clone your Repository#
This will set up a connection between the remote repository on GitLab and your local Project.
In the Windows file-explorer, create a Folder locally in the C-Drive to store your coding projects, e.g:
C:\Projects
Be careful not to store your active code on OneDrive or the network drives, since this could lead to conflicts. To ensure that your code isn’t lost, push it to GitLab regularly.
After creating your project folder, copy the path to your clipboard.
In the Command Prompt, enter
cd, followed by the path:cd C:\Users\username\...\yourproject
On Gitlab, navigate to the project and click on Code. Then copy the adress under Clone with SSH:
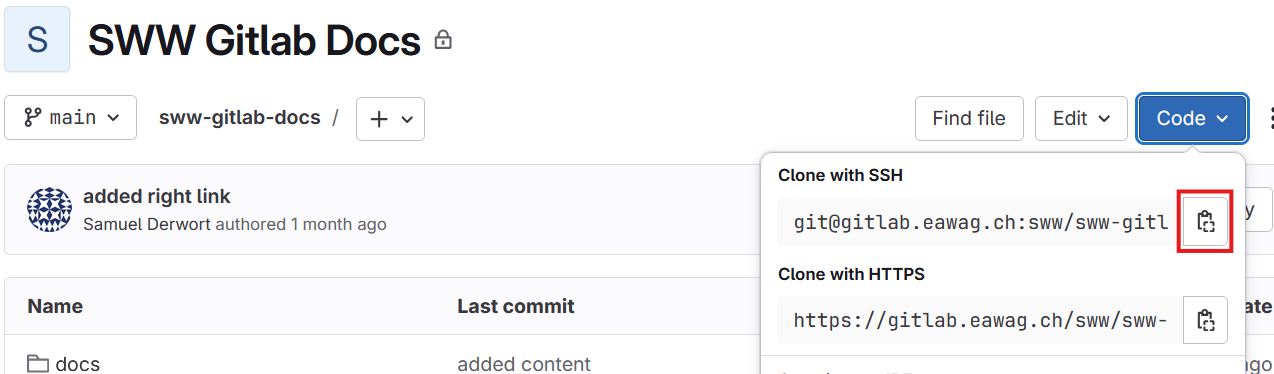
In the Command Prompt, enter
git clonefollowed by the copied address.git clone git@gitlab.eawag.ch:sww/yourproject.git
You should be seeing something like:
Cloning into 'yourproject'...
remote: Enumerating objects: 922, done.
remote: Counting objects: 100% (12/12), done.
remote: Compressing objects: 100% (12/12), done.
remote: Total 922 (delta 4), reused 0 (delta 0), pack-reused 910 (from 1)
Receiving objects: 100% (922/922), 1.10 GiB | 34.45 MiB/s, done.
Resolving deltas: 100% (642/642), done.
Congratulations! You can now start working on your project.
Download the Example Project#
Go to the example project and download the source code of the example project via Code as a zip-folder.
Unpack the zip-folder and paste its contents into your empty project.
Create a virtual environment#
Python projects should use virtual environments to isolate dependencies and avoid conflicts between projects.
Open Command Prompt (press Windows-Key → type
cmd→ press Enter)Navigate into your project folder
In the Command Prompt, enter
cd, followed by the path:cd C:\...\yourproject
Create a virtual environment, activate it and install requirements with the following commands:
# Create a virtual environment
python -m venv venv

# Activate the environment
venv\Scripts\activate

# Install dependencies
pip install -r requirements.txt
Run the Code in your IDE#
Select Python interpreter
Run notebook
In the next page, the most basic git-commands are introduced.